Behind-The-Scenes: My Process for Folktale Week.
Folktale Week holds an unrivaled place in my heart! Intertwining folktales and enchanting creatures into art is an event I look forward to every year. Here's how it works: seven prompts are provided (one for each day of the week), and artists are given a month to create their images. Then, for one week in November, artists worldwide share their interpretations of the prompts on Instagram. Original stories, myths, fairy tales, folk tales, poems - I’m always amazed at the wide array of art that comes out of this yearly challenge.
In past years, I crafted stand-alone images for each of the seven prompts. However, this year, fueled by a desire for artistic growth, I sought a challenge. I committed to honing my visual storytelling skills by weaving a tale with the seven prompts provided (lost, ink, sea, sleep, underground, illusion, found).
Below are my steps for creating narrative art. I’ve found that following this process ensures consistency of characters and style and that my story flows from one image to the next (and most importantly, makes sense!).
Step 1: Thumbnails
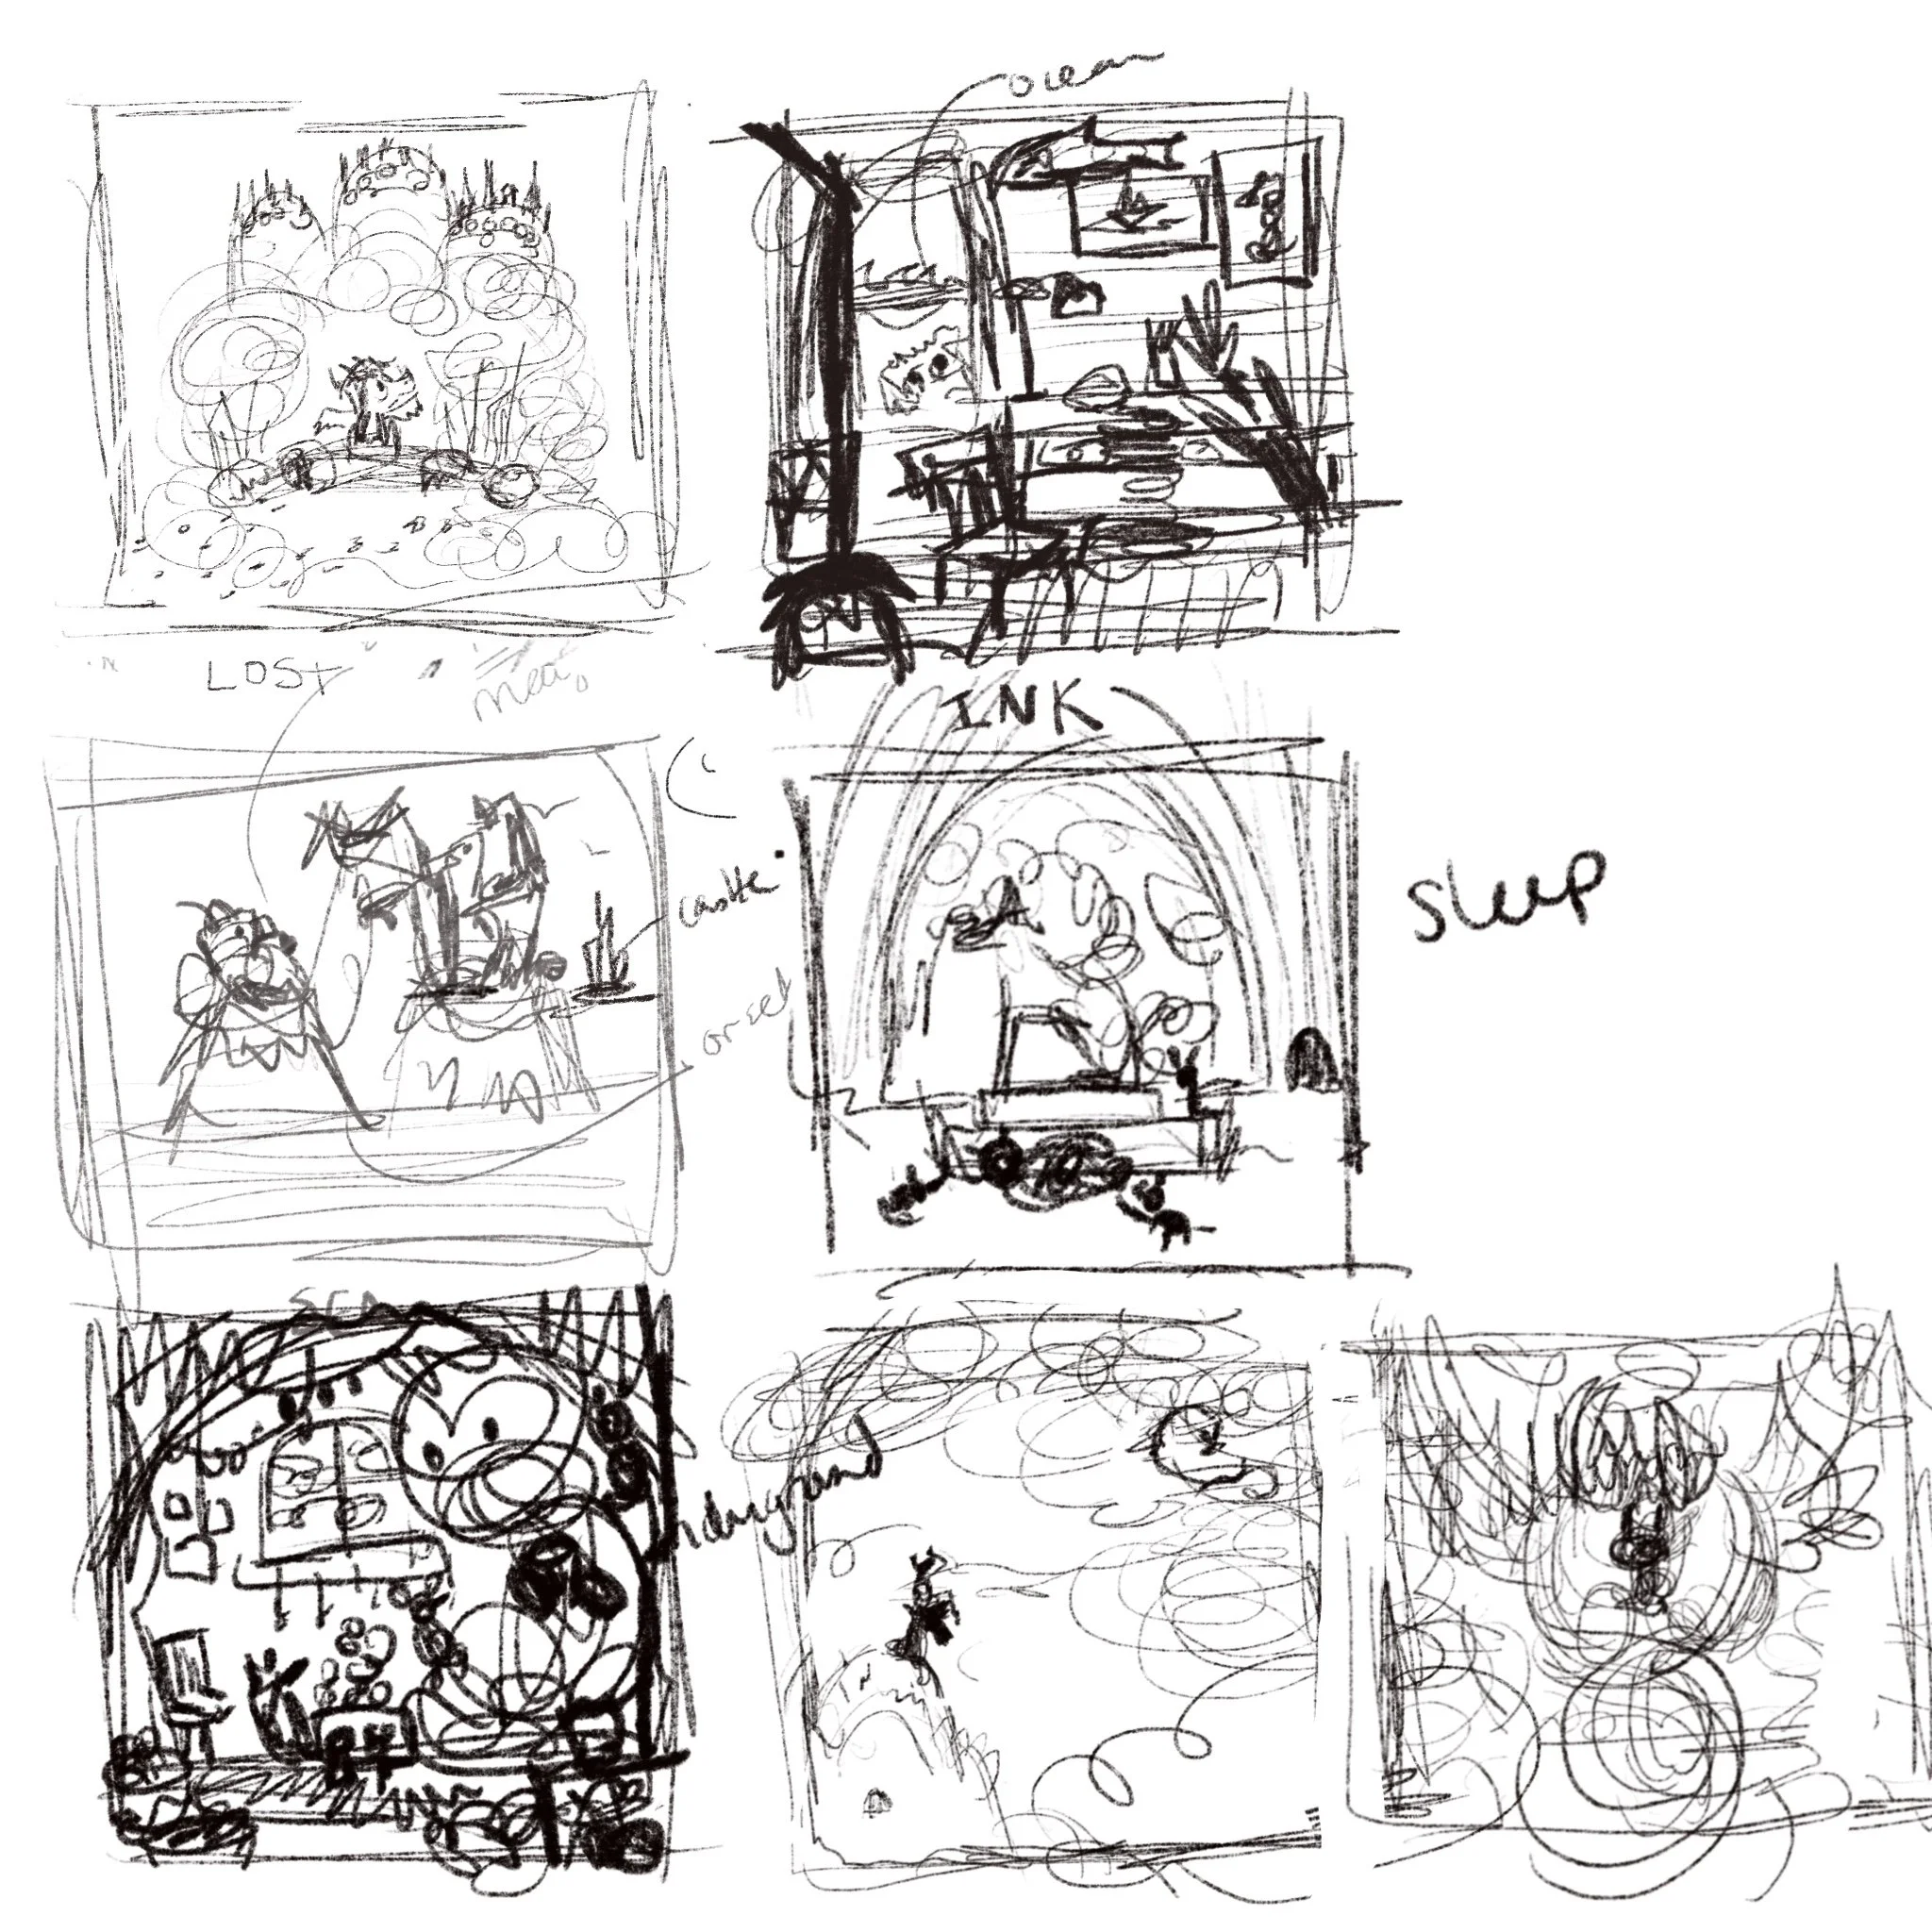
I’m scribbling at this stage. My thumbnails are so scribbly and scratchy, that I’m pretty sure I’m the only one who can discern what my images are supposed to be about. My sketches are small (hence the term "thumbnail") in order to get out all my ideas quickly. The point of this stage is not about visual perfection but rather design. Things are flexible at this stage — I mess with various compositions, delete or add items, place characters in a multitude of poses, and churn out sketch after sketch, all with the goal of ensuring my image tells the right story.
As messy as my thumbnails appear, this stage is crucial to audience comprehension in my final drawing. I can’t tell you how many times I’ve skipped this stage and gone straight to my final sketch, only to create something that doesn’t convey a clear narrative.
Step 2: Sketches
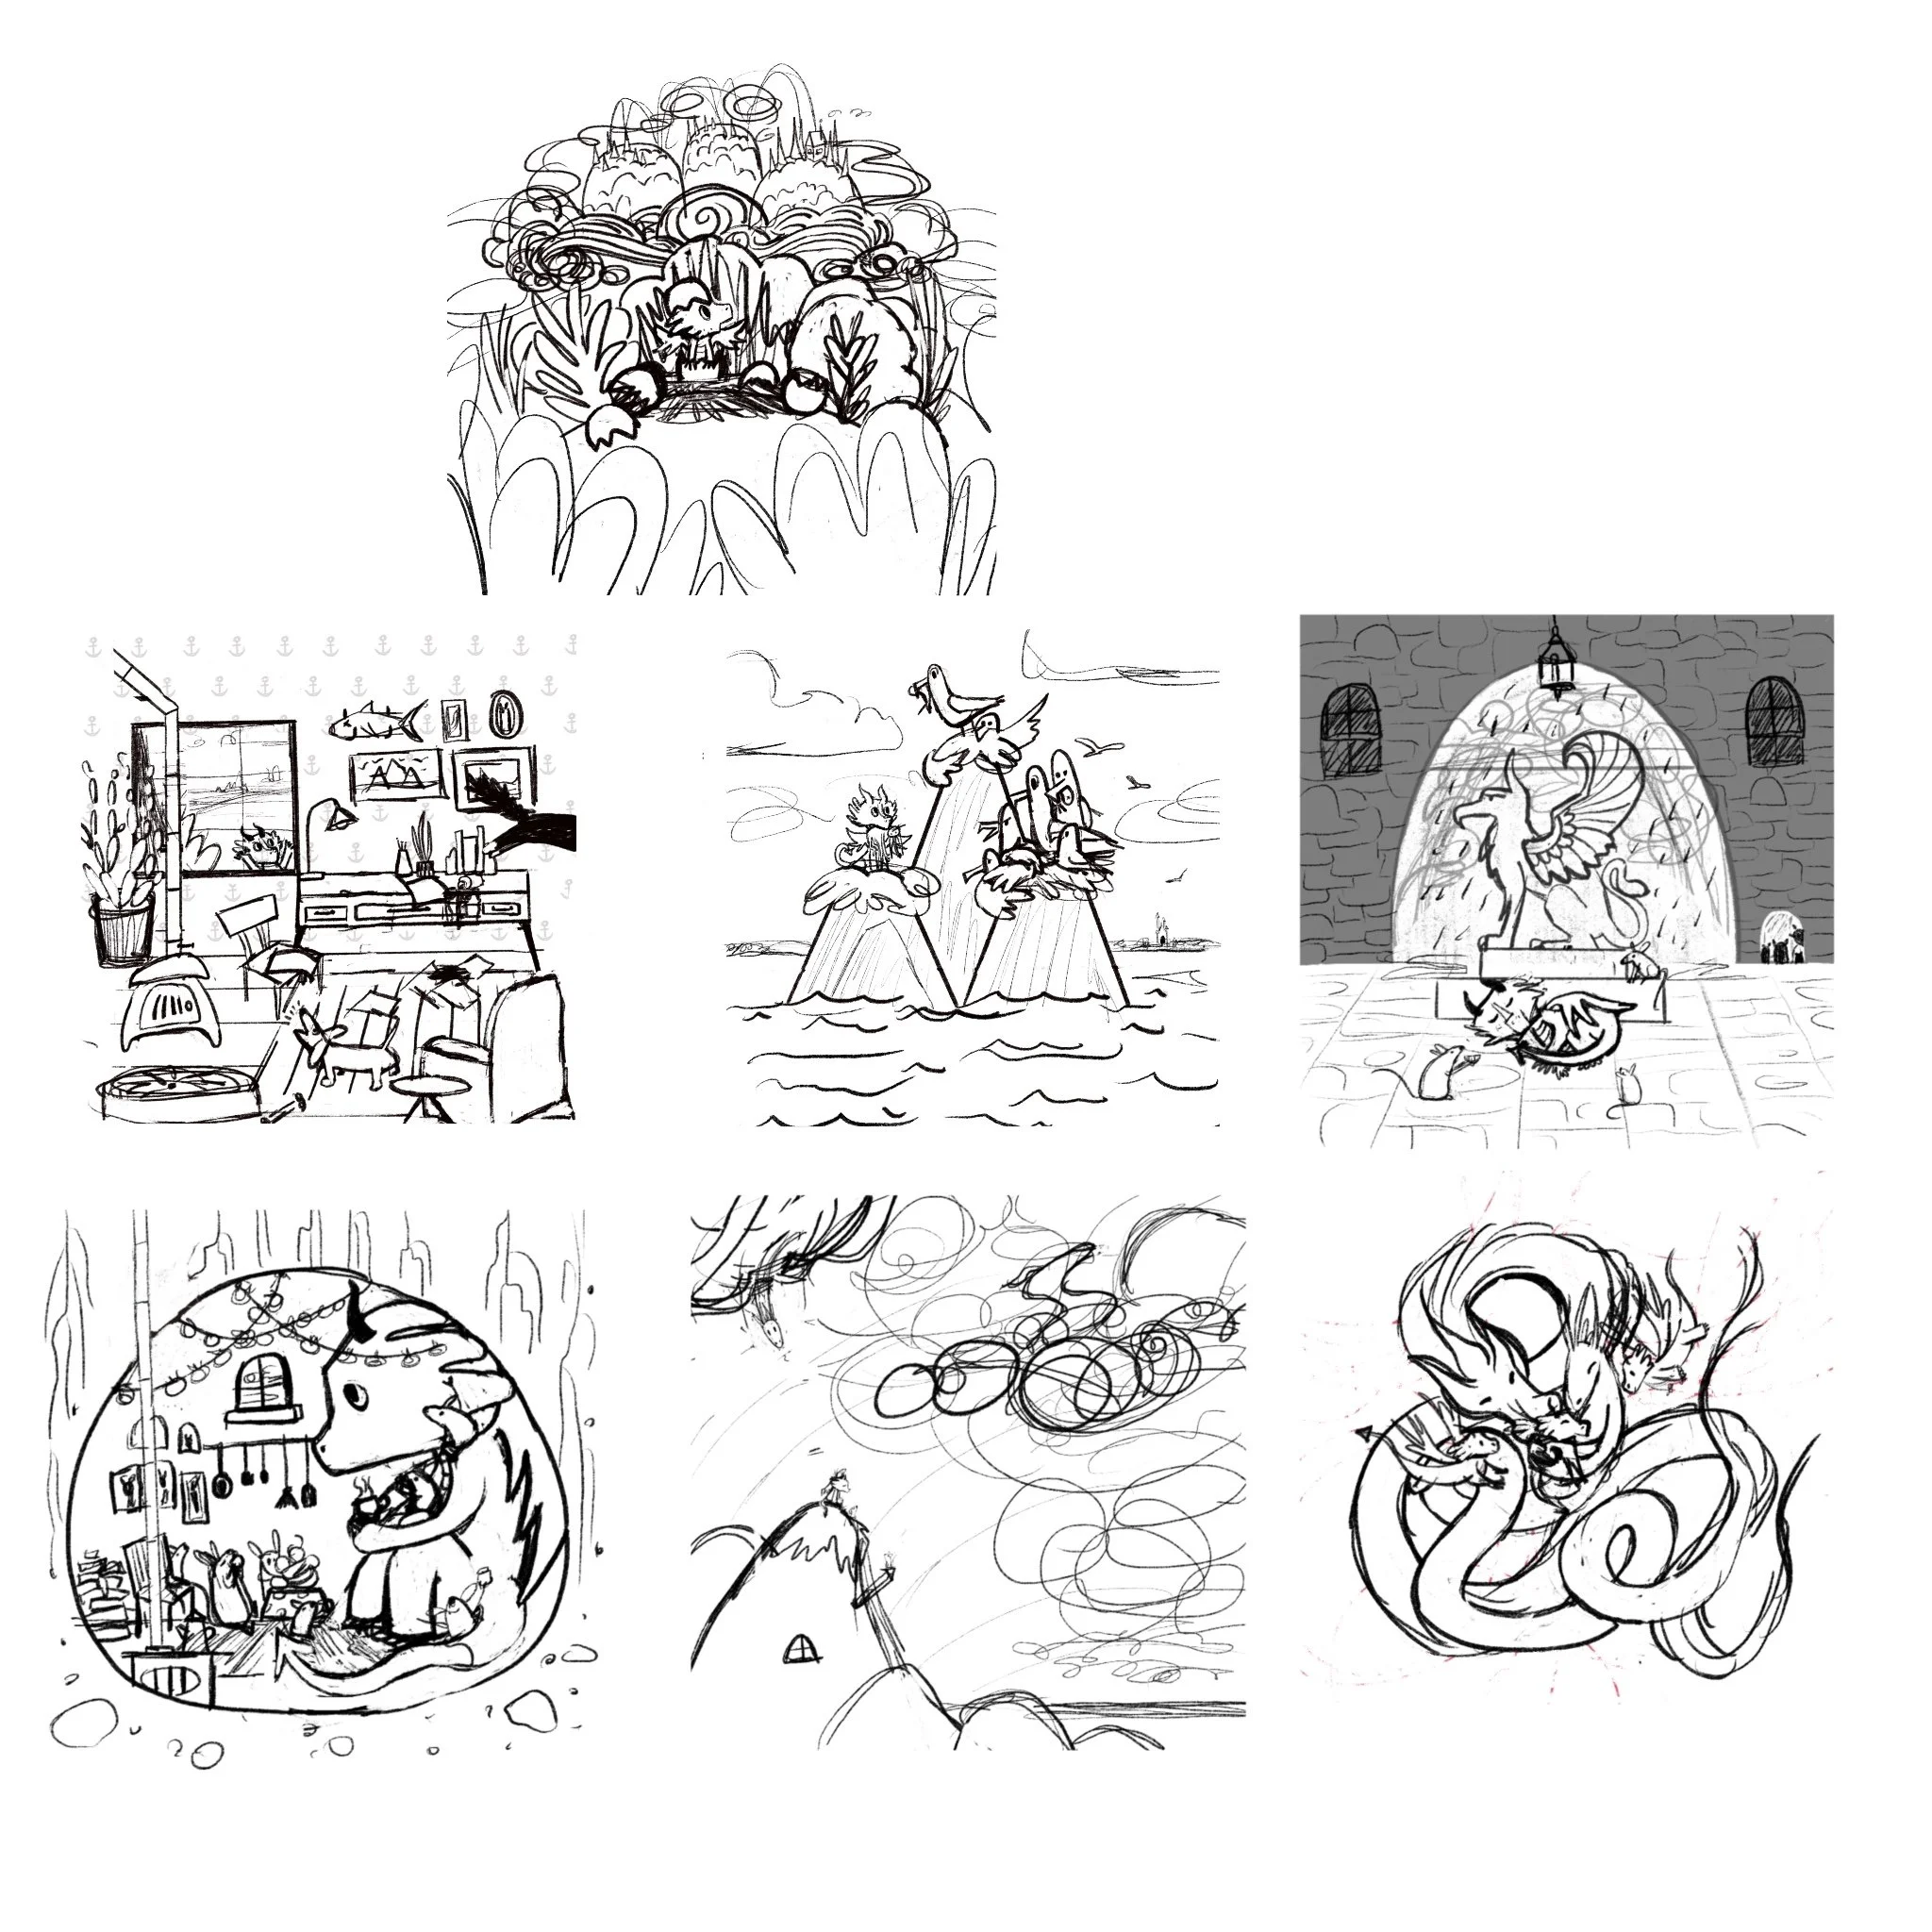
After the thumbnail stage, I select my strongest concepts and begin working on final sketches. I take my thumbnail images, enlarge them to the actual size of my art, and spend time drawing things accurately so the rest of my rendering process will go smoothly.
A lesson I’ve learned from this stage is to NEVER skip rendering things. EVER. Unfortunately, I had to learn this lesson again during this project. Check out my image for day 6: illusion. During the sketching stage, I told myself, “Figuring out how to draw a dragon made of clouds is way too hard and will take too long. Just do it later. Future Natalie will be fine!” Future Natalie was not fine.
Going from a loose gestural drawing straight into a final rendering is really, really hard. I think my 6th image in this series is the weakest one because I blatantly avoided sketching my cloud dragon in its finality because it felt too challenging. In the end, that 6th drawing took me way longer than necessary and ended up being my least favorite image. Lesson learned (hopefully?).
Step 3: Color Studies
This is one of my favorite stages! The possibilities are endless and I haven't committed a lot of time to a piece yet, so my inspiration is running high. Typically, I'll go through images I saved in Pinterest, Instagram, my files, searching for color inspiration. I usually have a vague idea of where I want to go with color during the thumbnail stage, but I find my final color palette shifts quite a bit from the first one I envision in my head.
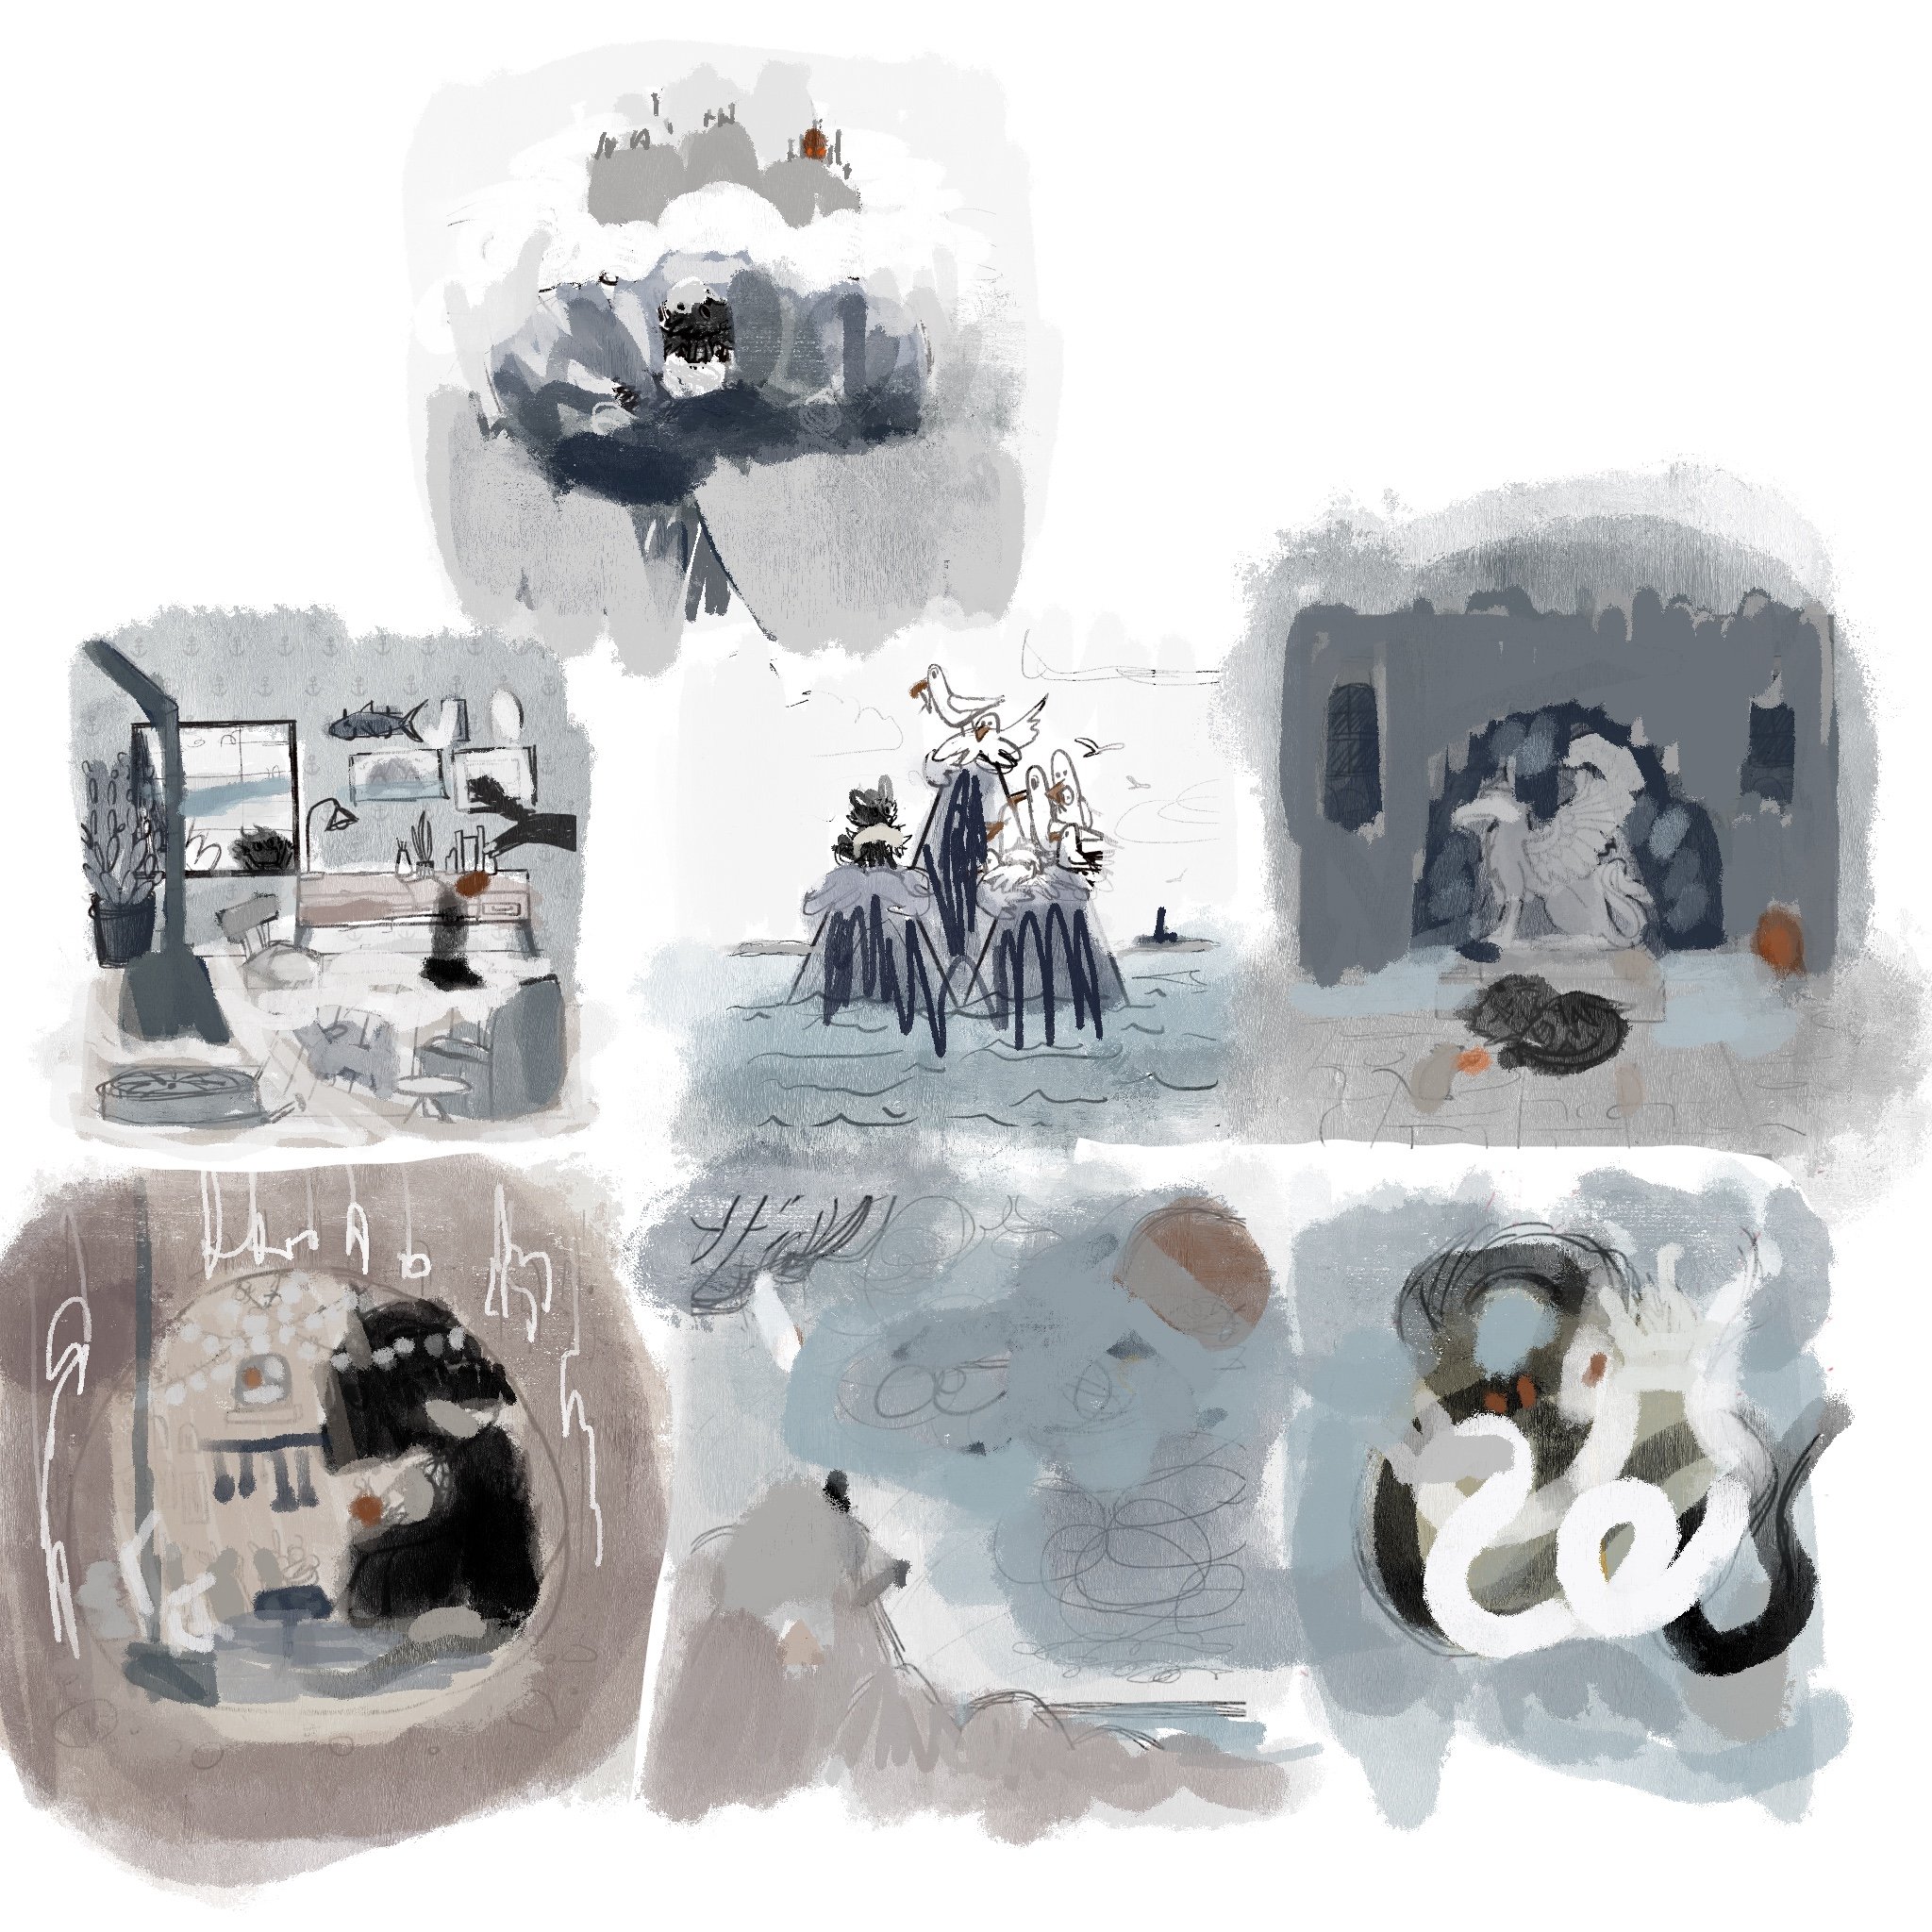
For this project, I knew in advance that I wanted to work with a limited palette. The first color study was the one I imagined in my head. I was so sure I was going with this option that I almost didn't do a color study (one would think I've learned not to skip steps by now, but it's still a temptation). However, as I applied my color palette to my images, things started feeling way too cold. Given that my main character is a dragon, I wanted a warm color to allude to the fiery furnace within our cute little friend. Additionally, my limited color palette was a little too limited. I found that objects in the foreground (like the mice) were getting lost because their tones were too similar to my background colors.
Enter round two of my color study, and you can see my switch to bluer tones and the addition of a complementary orange color. This palette felt so much better to me! I felt like it related better to my main character and the story I was trying to tell.
Step 4: Final Art
After color studies come the hours of rendering sketches into full-color images. Since I’ve already nailed down my sketch and color palette, this stage is a bit more relaxing; there’s less to figure out. This means I get to queue up my favorite podcasts, shows or audiobooks and put my brain on auto-pilot while I color images—it's quite enjoyable. This stage encompasses numerous art layers and requires a significant amount of time, but eventually, I have finished art to share!
You can see my final story below.


